Manage workspace
Think of a Workspace in Plane as your command center, the place where everything comes together. It’s the top-level space that holds all your projects, work items, cycles, modules, and pages.
The workspace is where your team gathers to work on projects, track progress, and get things done. You can create your own projects, invite others to join, and collaborate as a group, or just do your own thing if that’s how you roll.
What's inside a workspace
Every workspace in Plane has two main components:
- Projects
Projects serve as the cornerstone for all activities within the product. You can create work items, assign tasks to members, and track progress for whatever you’re working on. If you envision your organization as NASA, each mission can be likened to a project. Learn more here. - Members
Invite your teammates, collaborators, or managers to join your workspace. Each user gets a role, like Admin, Member, or Guest, to control what they can do. Explore roles here.
Create workspace
First-time setup
When you first sign up for Plane, you'll create your workspace during onboarding.
Create additional workspaces
- Click your workspace name in the top-left corner of the sidebar.
- Select Create workspace from the dropdown menu.
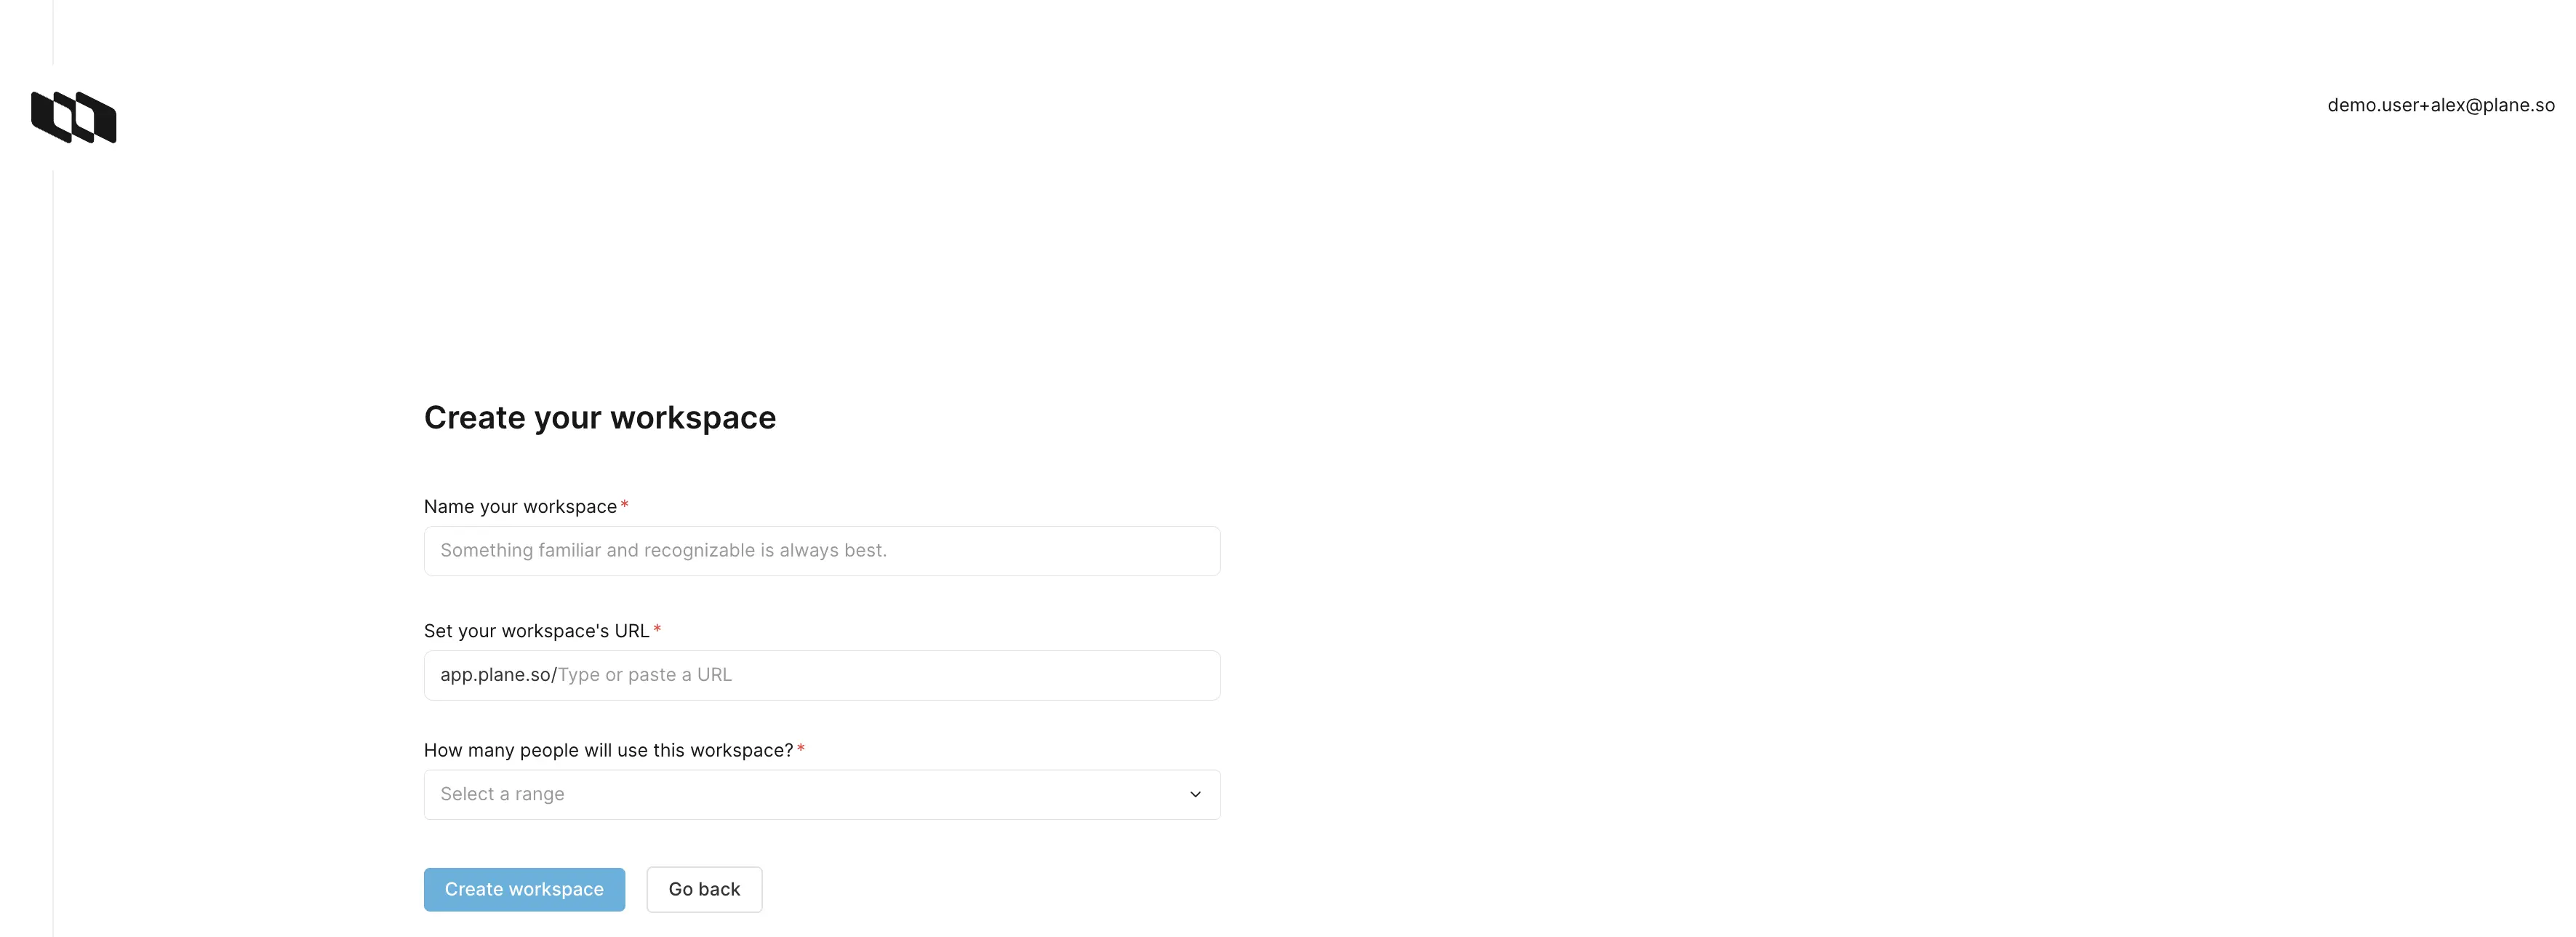
- Enter your workspace name and URL slug.
- Click Create.
Workspace URL
Each workspace gets a unique URL (slug). You can have duplicate workspace names, but URLs must be unique.
Join an existing workspace
If you are a team member or contributor and are invited to a workspace, you don’t need to create your own. Just accept the invitation through:
Email invitation
Click the invitation link in the email you received.
Workspace invites page
- Click your workspace name in the top-left corner.
- Select Workspace invites from the dropdown menu.
- View pending invitations.
- Click Accept on the workspace you want to join.
Access workspace settings
- Click your workspace name in the top-left corner.
- Select Settings from the dropdown menu.

From workspace settings, you can:
- Manage workspace members and roles
- Configure integrations
- Import or export data
- Manage workspace settings
Switch between workspaces
If you belong to multiple workspaces:
- Click your current workspace name in the top-left corner.
- Select a different workspace from the dropdown menu.
All your workspaces must be associated with the same email address.
Delete workspace
Workspace admins are the only ones who can delete a workspace.
WARNING
Deleting a workspace permanently removes all data including projects, work items, cycles, modules, and pages. Plane does not provide automatic backups. Export any important data before deleting.
- Navigate to Workspace Settings.
- In the General tab, scroll to the Delete workspace section.
- Confirm the deletion.