Manage projects on your mobile
The Plane mobile app is available on Android and iOS devices.
With the mobile app, you can easily manage your projects on the go. Whether you're creating, assigning, or tracking work items, stay connected with your team and keep work moving forward no matter where you are. Download the app to experience project management at your fingertips!
System requirements
| OS | Version |
|---|---|
| Android | Android 10+ (SDK 29+) or higher |
| iOS | iOS 13 or higher |
Download
Head over to Download to install the app for Android or iOS.
Sign-up isn't available through the mobile app. To use the app, you'll need to be a member of at least one workspace.
Sign in
The app is available on Cloud and for self-hosted instances on all plans of the Commercial Edition starting from version v1.12.0. Here’s how you can get started:
-
For cloud users
Tap Cloud sign in and enter your credentials to log in. -
For self-Hosted users
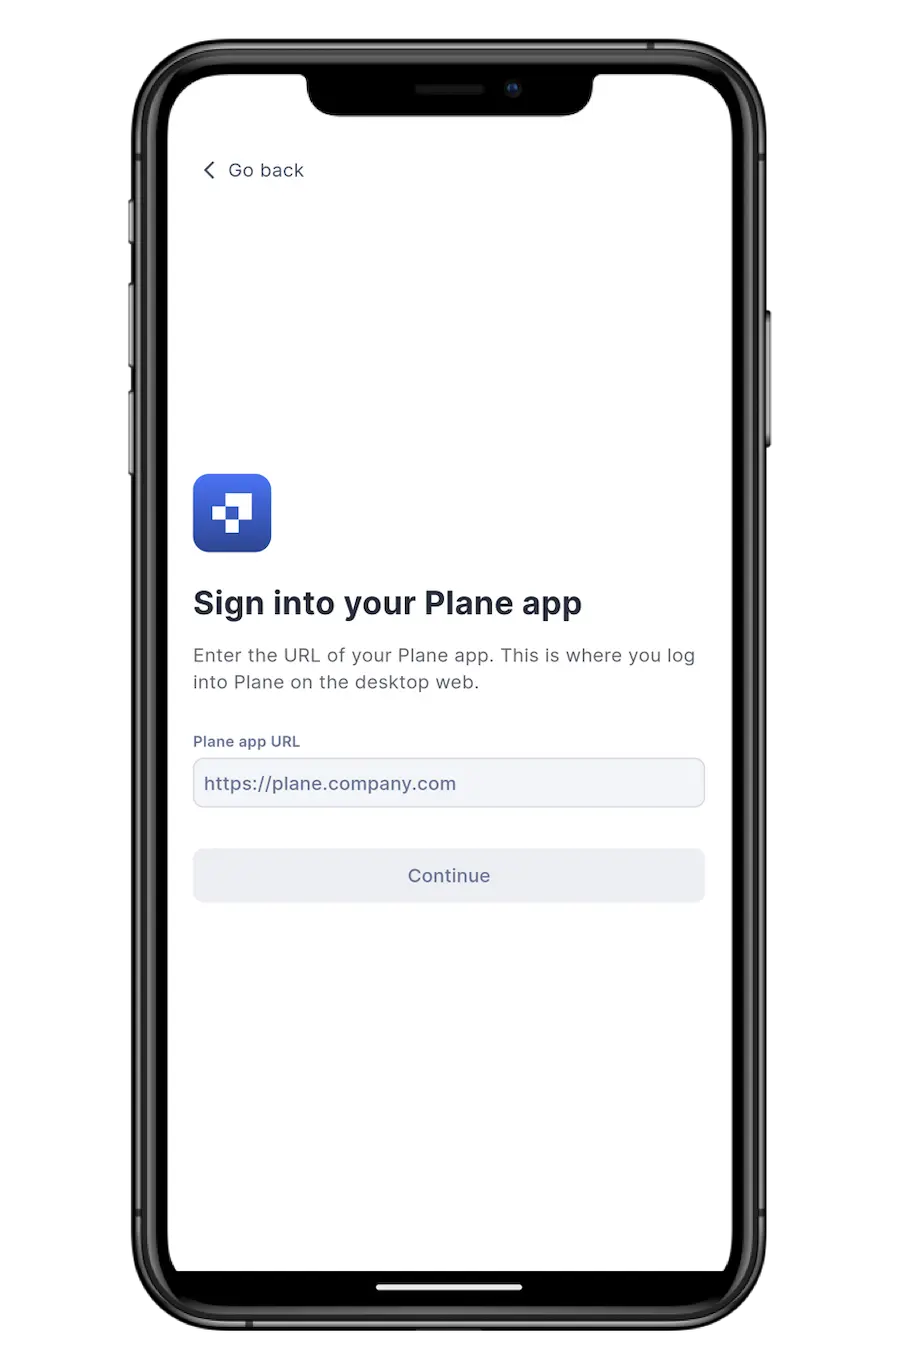
Tap Self hosted sign in, then enter your Plane app URL. Once that’s done, log in with your credentials to access your workspace.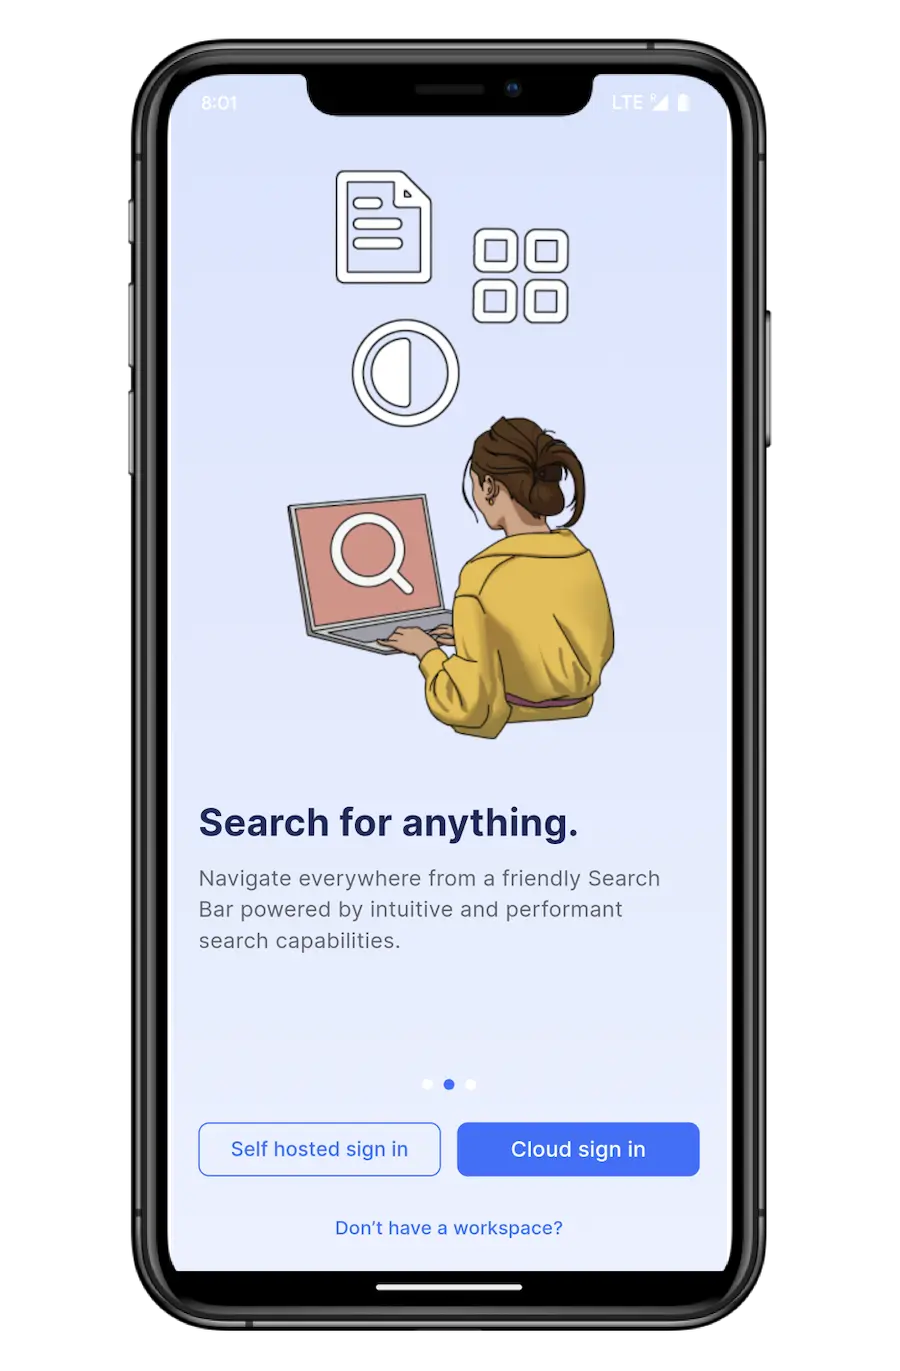
Navigate the app
The navigation bar at the bottom of your screen helps you quickly access key areas of the app.
-
Home
Your dashboard includes a search box and familiar sections like Your Work and Favorites. There’s also a Jump back in section to easily access your recent projects, cycles, modules, pages, and work items. -
Projects
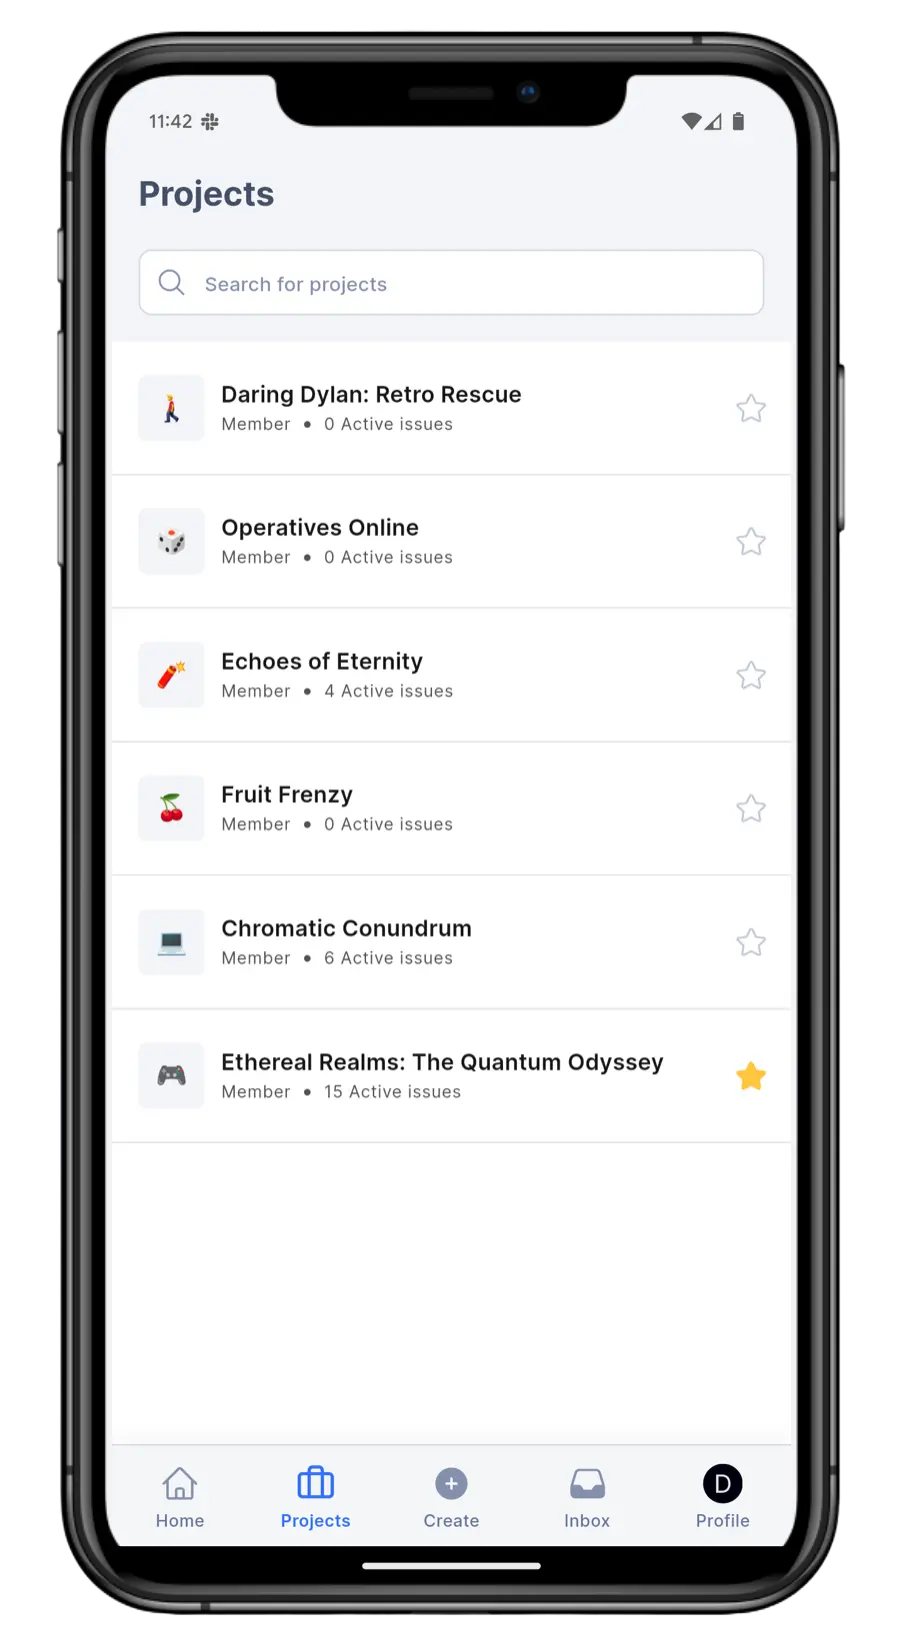
This screen shows all the projects you have access to, along with your role and the active work items count. Tap the star icon to add a project to your Favorites for quick access.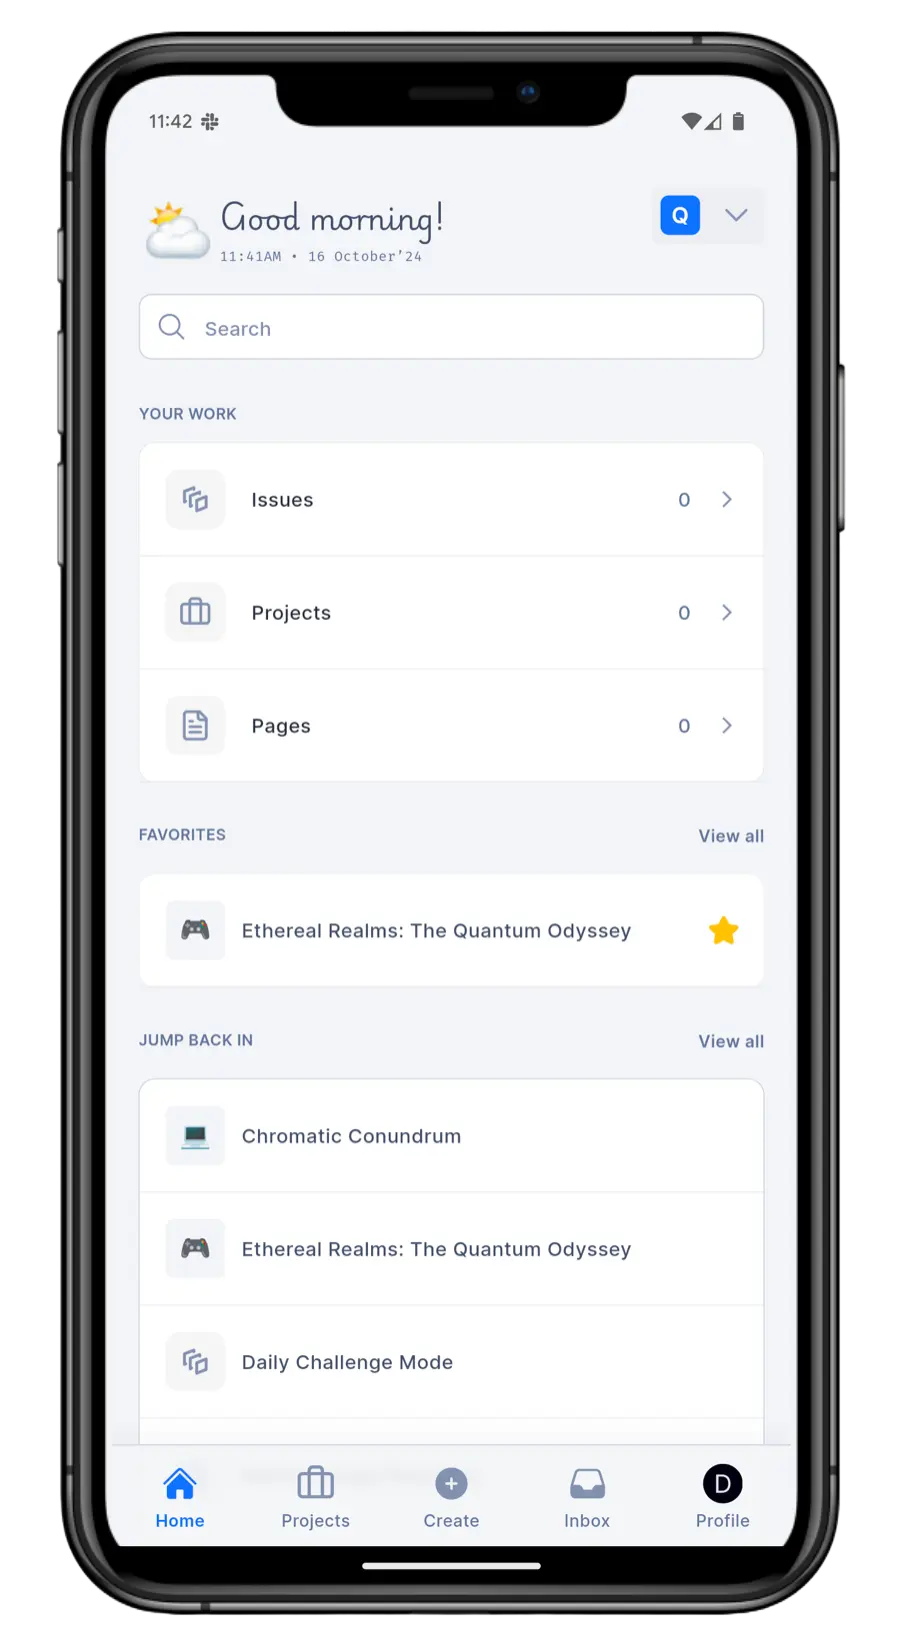
-
Create
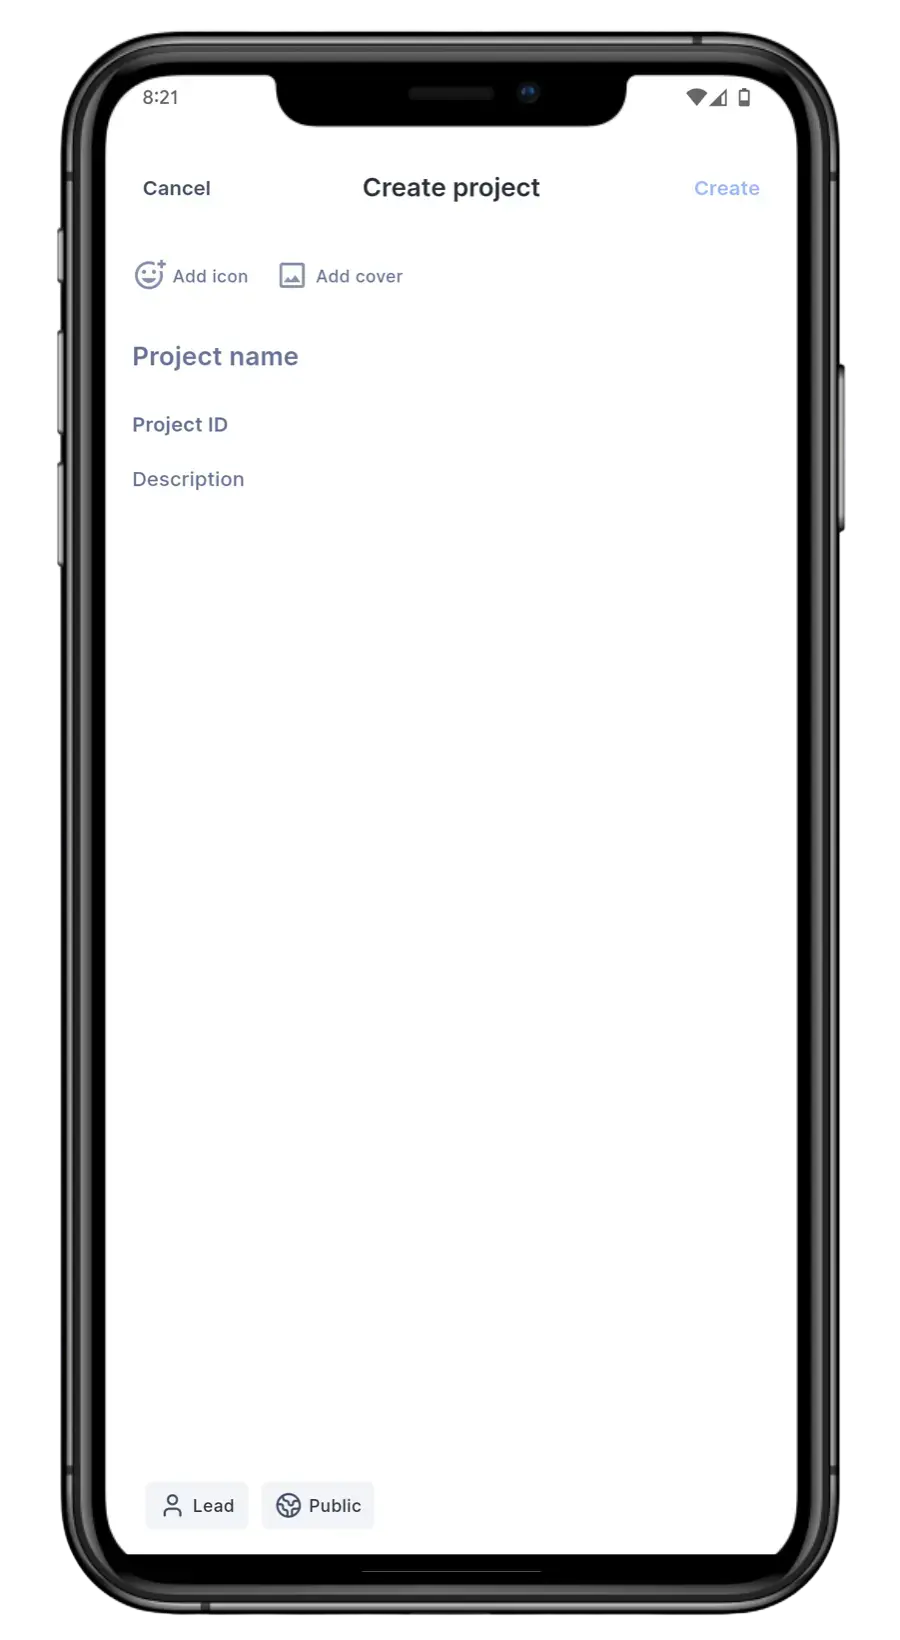
Need to create a new project, work item, or page? Tap the + Create button.-
New project Add the project details such as icon, name, description, and the lead. Mark it public or private. Hit the Create button.
-
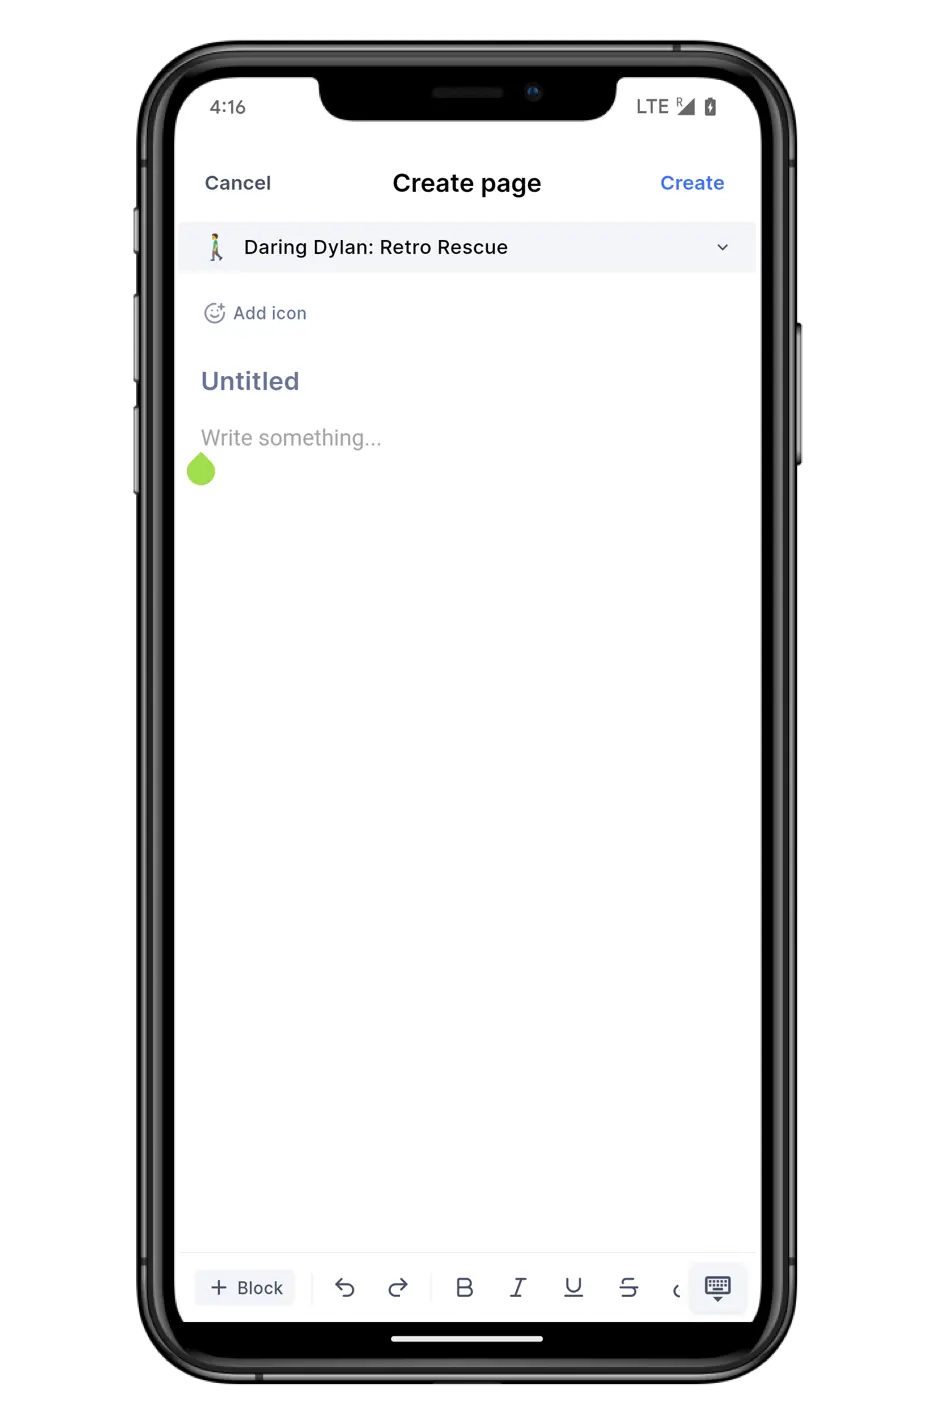
New page
- Select the project by clicking the project name at the top.
- Add an icon and the page title.
- You can use the toolbar at the bottom to add different content blocks and format them as needed.
- Hit the Create button to add it to your project.
- New work item
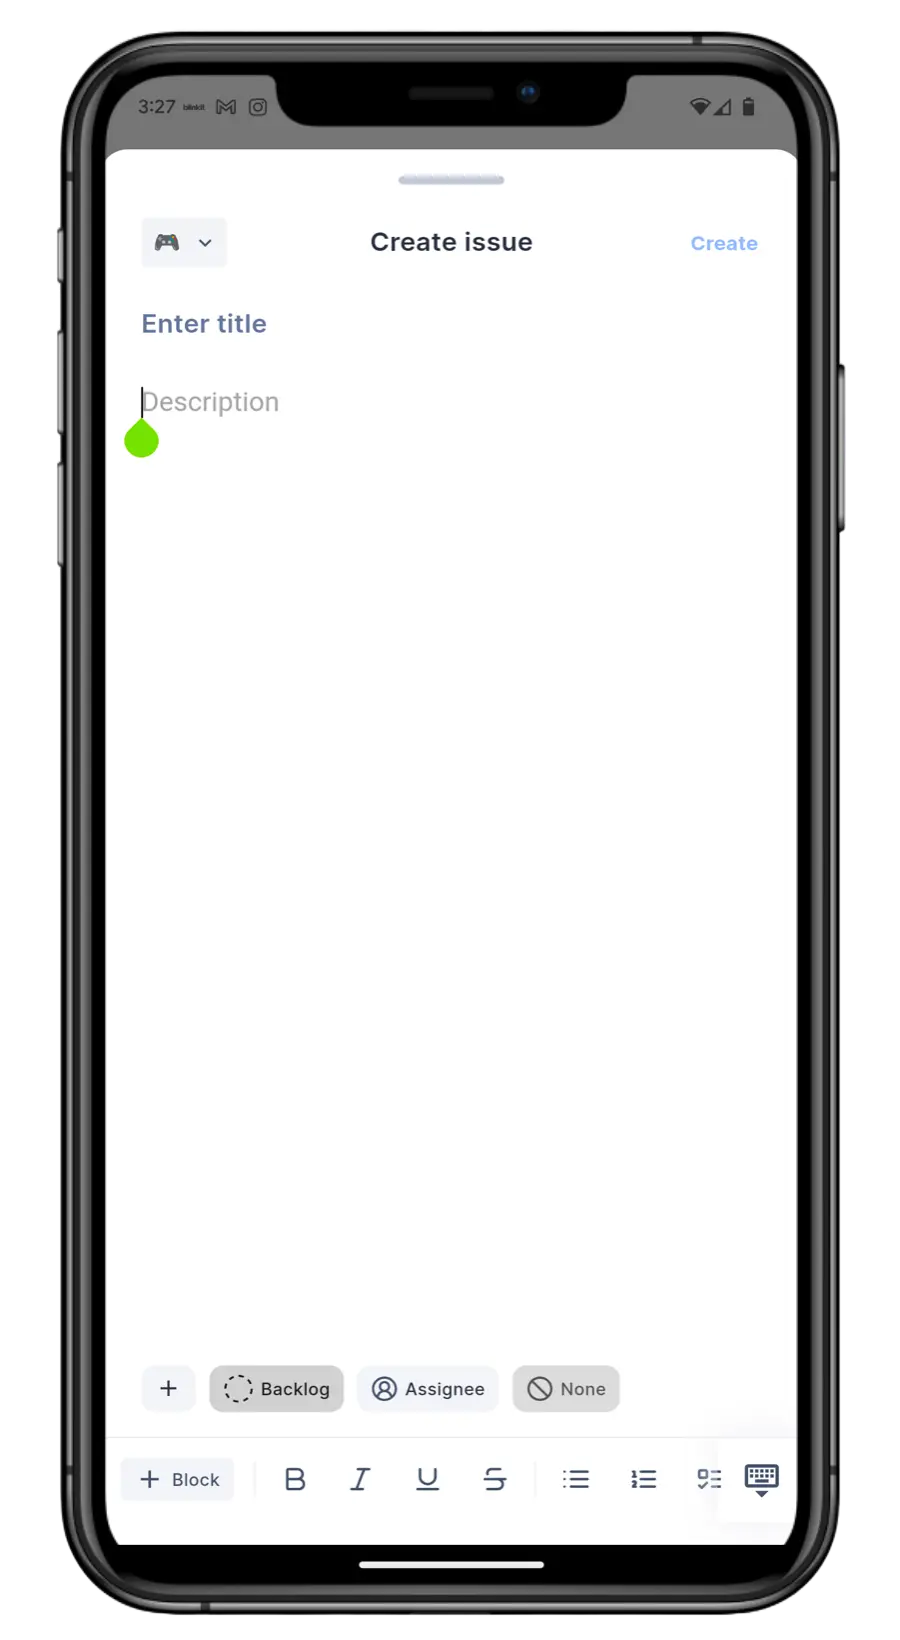
- Select the project by clicking the project name at the top.
- Add work item details like title and description. For the description, you can use the toolbar at the bottom to add different blocks and format the text as needed.
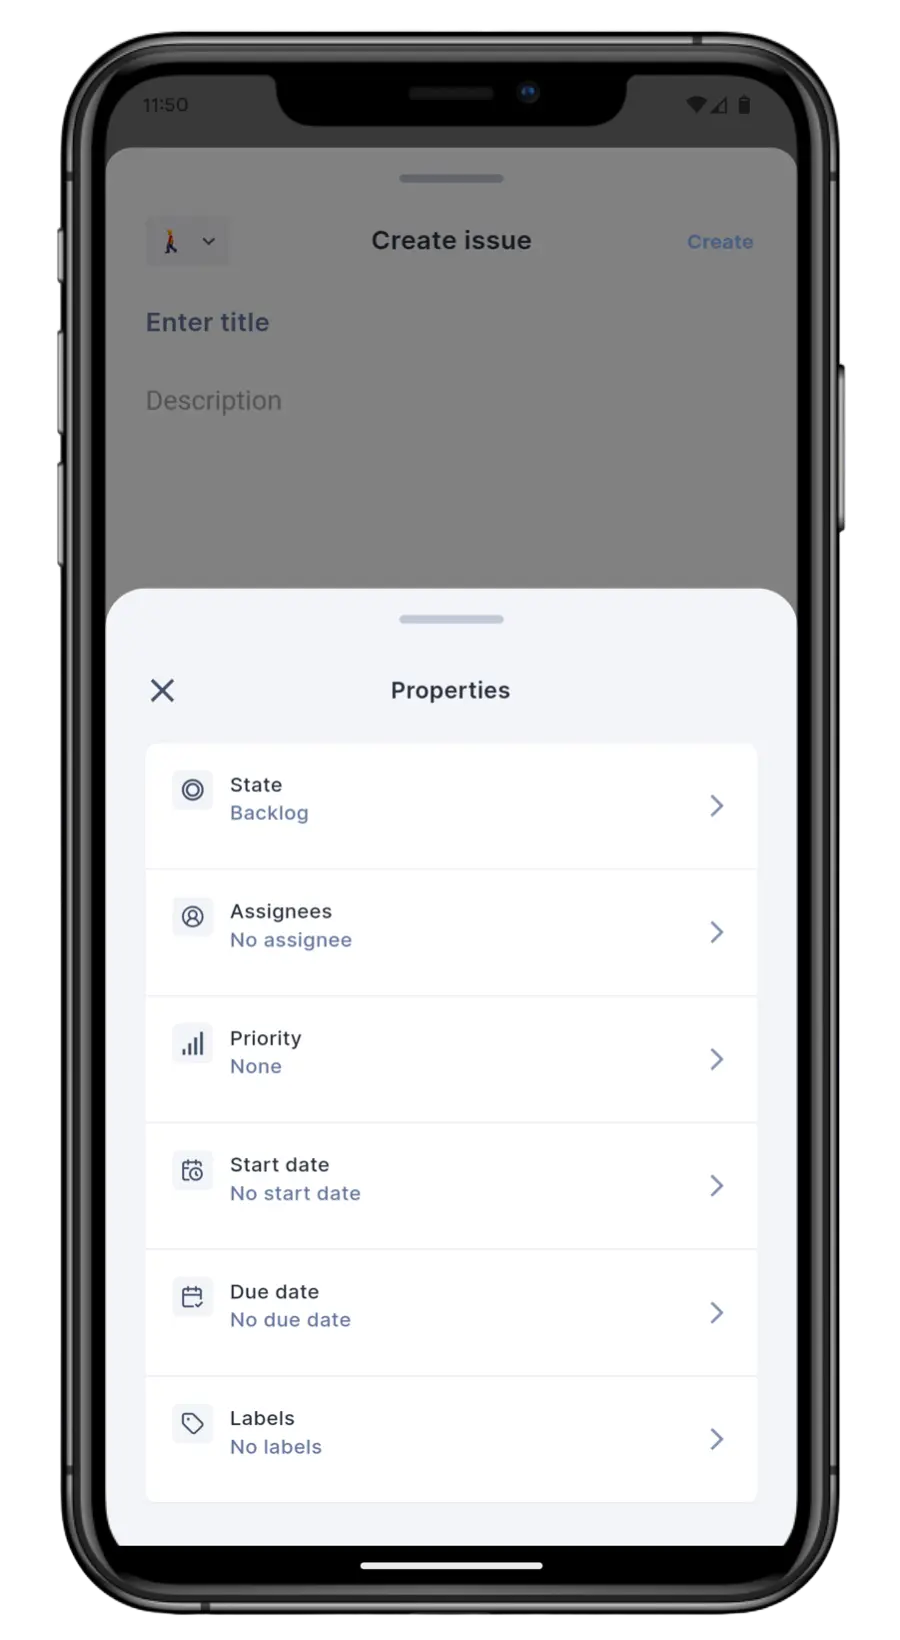
- Tap the + icon at the bottom left to assign members, priority, state, and other properties.
- Hit the Create button to add it to your project.
-
-
Inbox
Stay updated with notifications about work items you’ve created, are assigned to, or where you’ve been mentioned. You’ll never miss an important update again. -
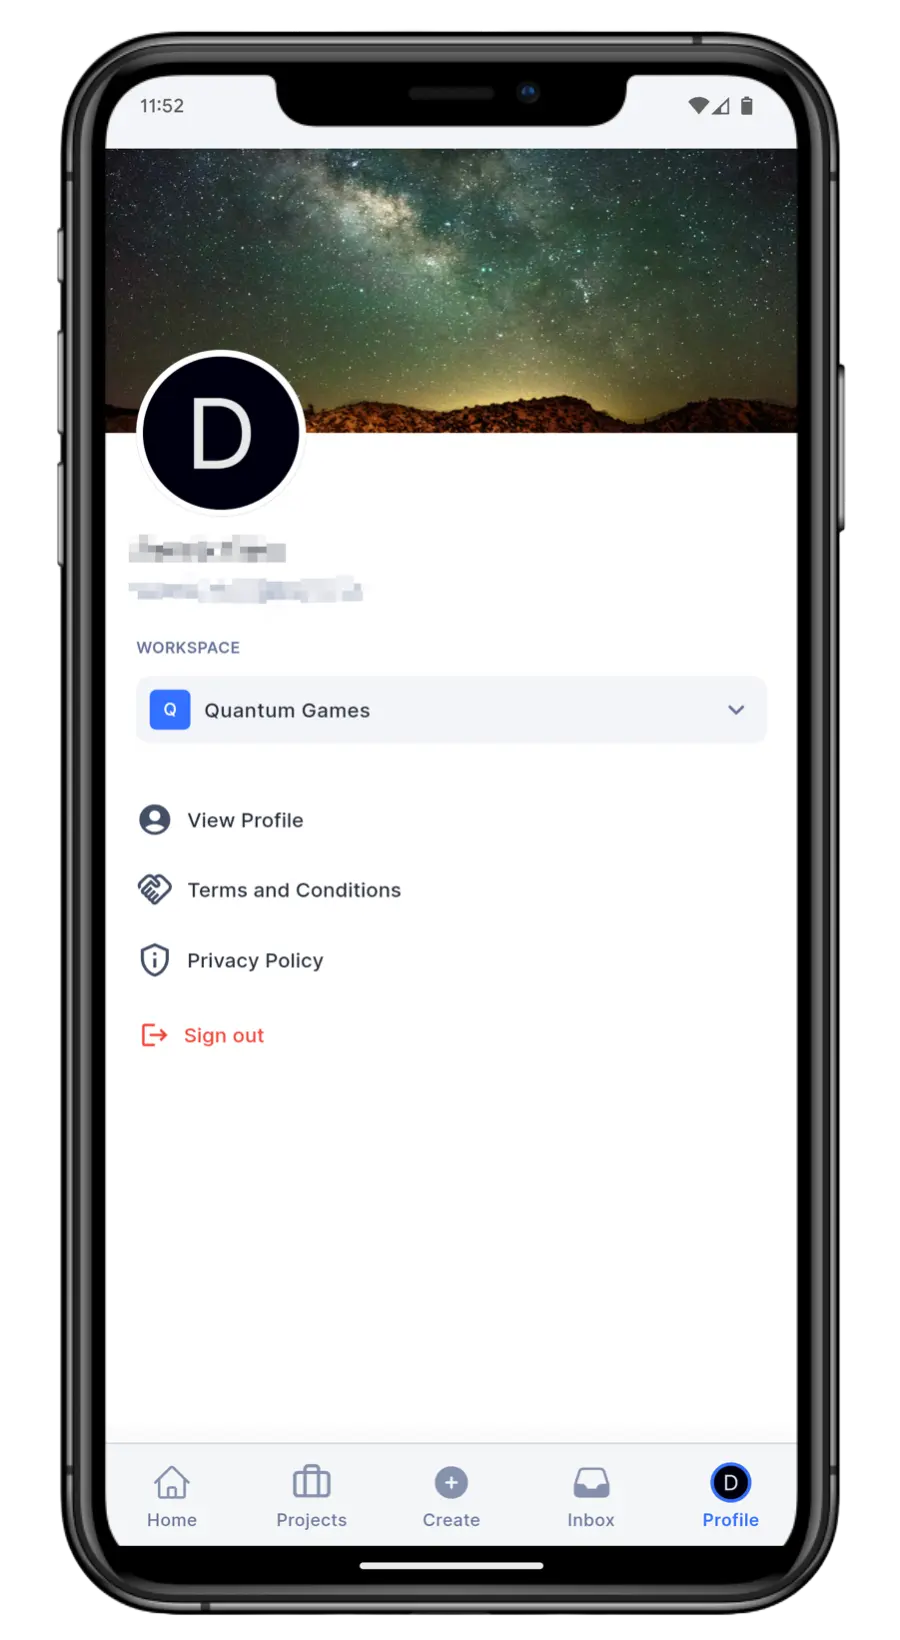
Profile
View your profile and manage your account here. You can also switch between workspaces or log out of the app from this screen.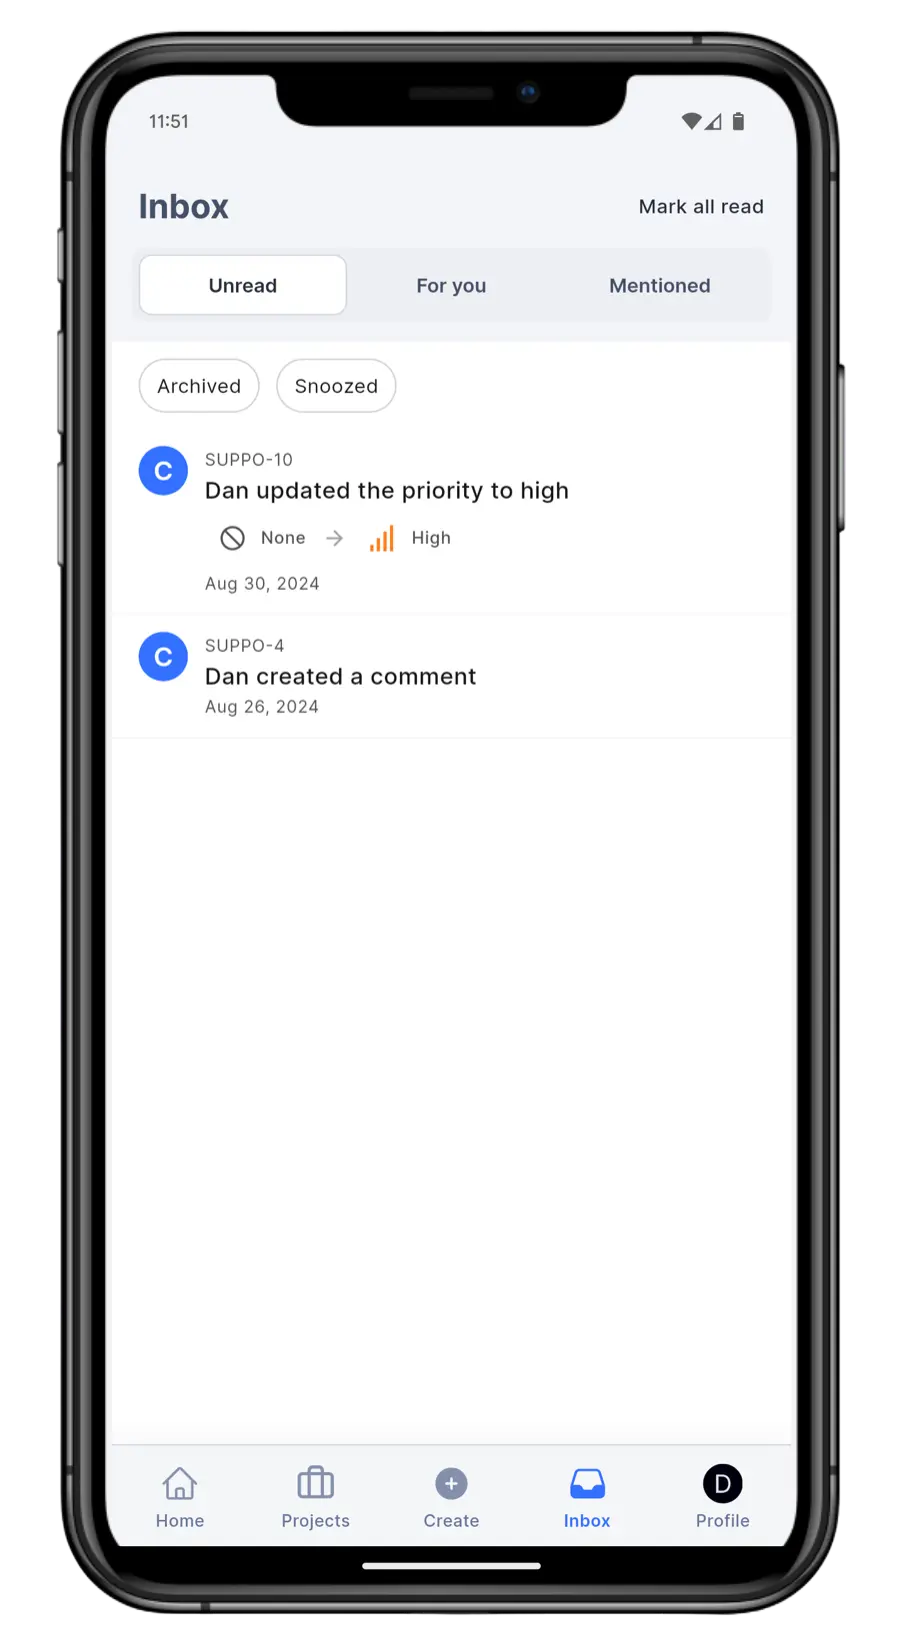
Global search
At the top of the Home screen, you’ll find the global search bar, which helps you quickly find projects, work items, cycles, modules, or pages. It's a powerful tool to jump right to what you need.
Switch workspaces
To switch between different workspaces, simply tap your workspace icon in the top-right corner or navigate to your profile settings at the bottom right of the screen.
Track projects
Stay on top of your work by tracking all your project's elements with ease:
- Tap the Projects icon in the bottom navigation bar.
- Select the project you want to track.
You will notice that the bottom navigation bar now shows different buttons:
-
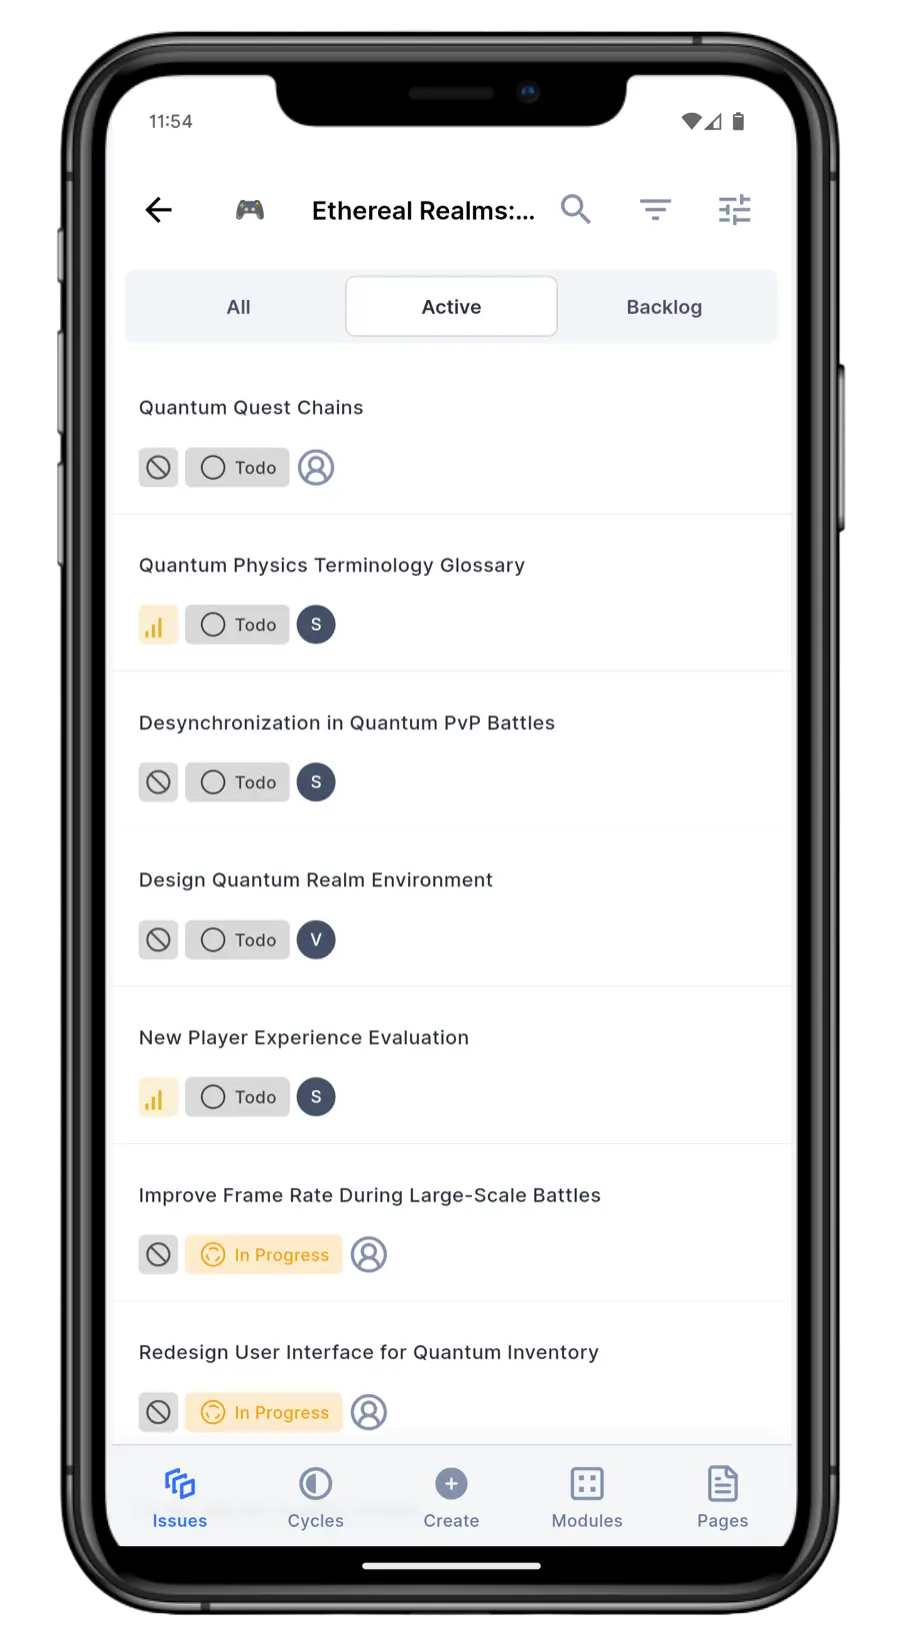
Work items
View a list of all, active and backlog work items.-
You can search, sort, and filter work items using the icon buttons on the top right.
-
Tap any work item to view or modify work item details and view the activity. You can also add comments, copy the link, and share the work item with a personalized message via other apps.
-
Click the + Add button on the bottom left to add sub-work items and relations. You can also swipe left or right to view sub-work items, relations, links, and attachments.
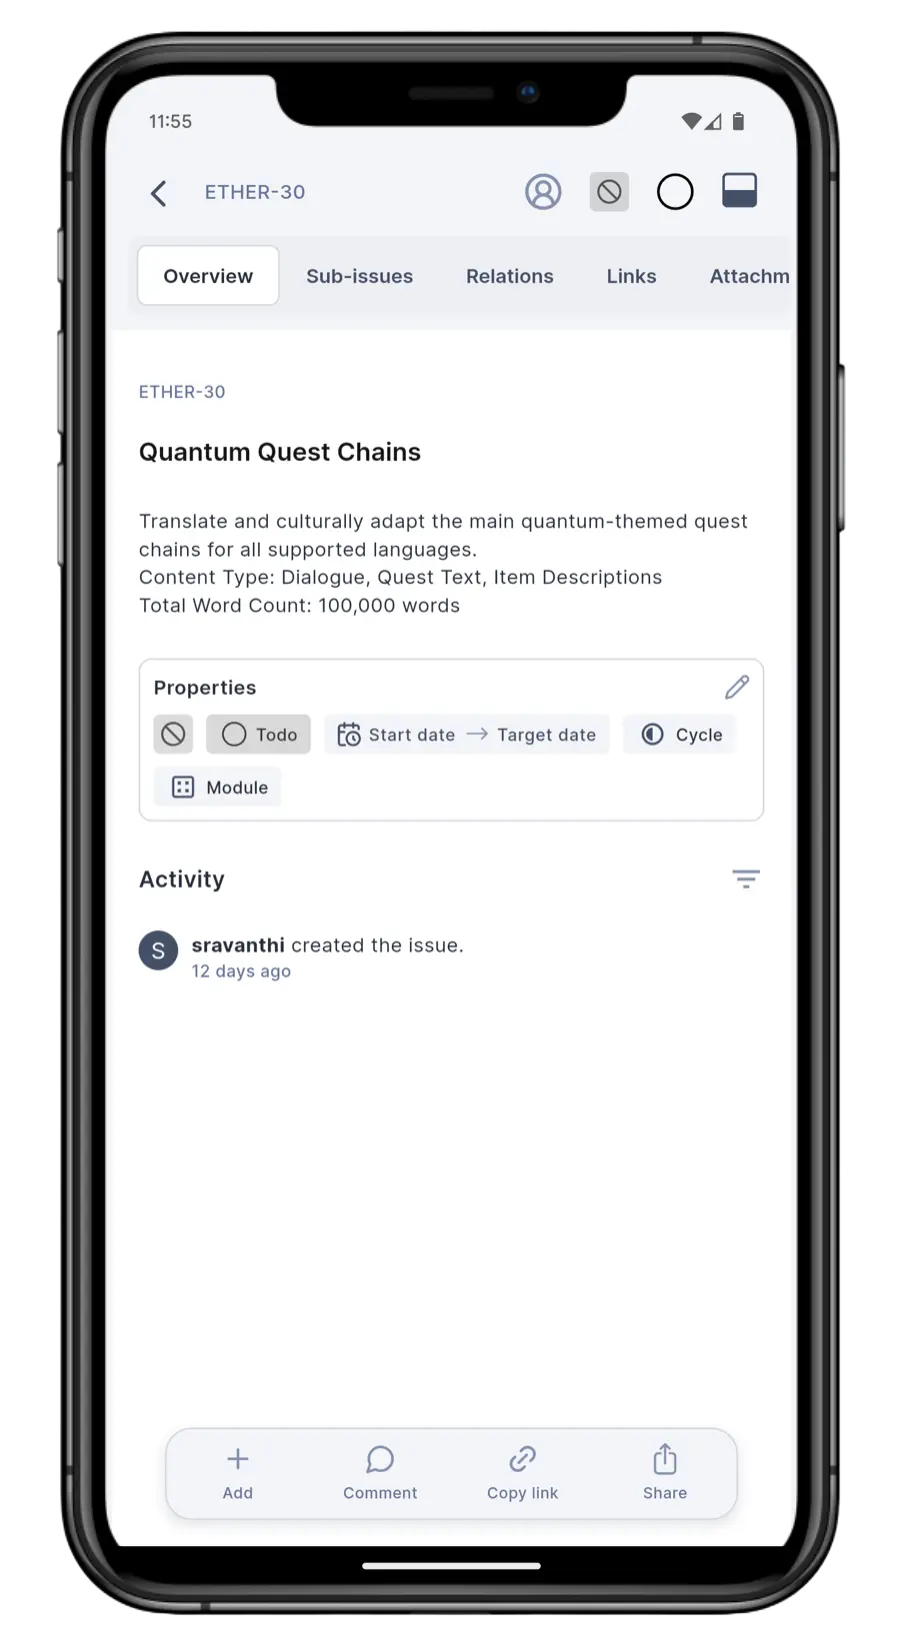
tipYou can add or edit the priority, state, start date, target date, cycle, and module by tapping the pencil icon in the Properties section. Alternatively, use the icons on the top right for choosing Priority, Cycle, and Module.
-
-
Cycles
Track active and upcoming cycles, and dive into the work items within each cycle. -
Create
Similar to the Create button on the main navigation bar, except that you can only create new work items and pages here. -
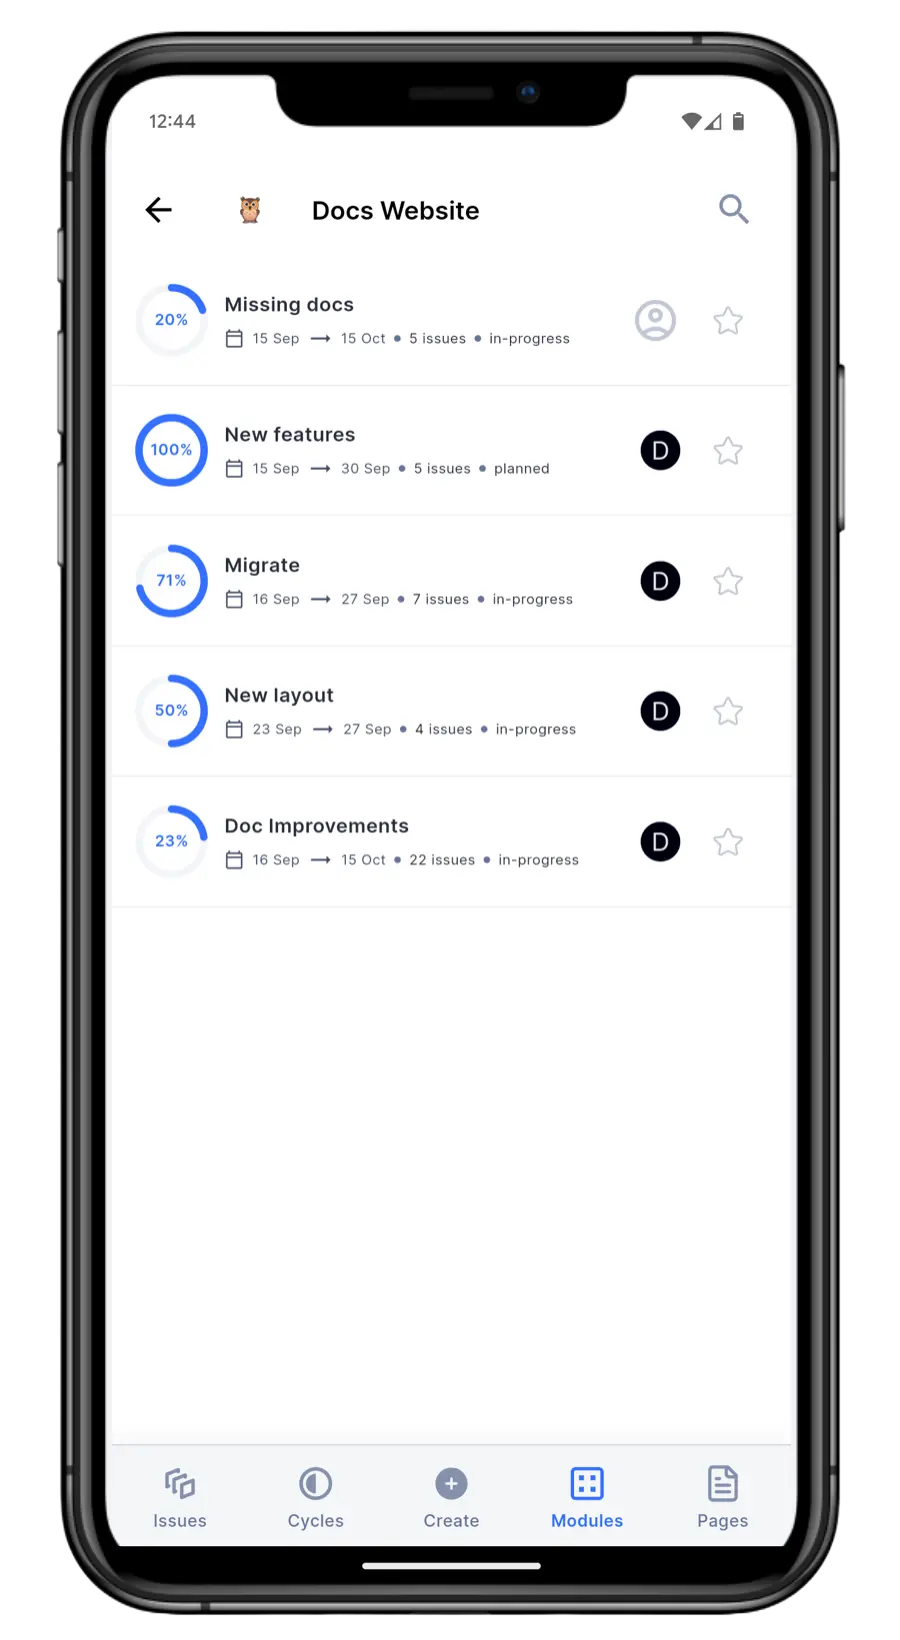
Modules
See all modules in your project and their progress. Tap the module to view the work items that are a part of it. -
Pages
View all project pages, whether public, private, or archived. You can mark important pages as favorites or search for specific content.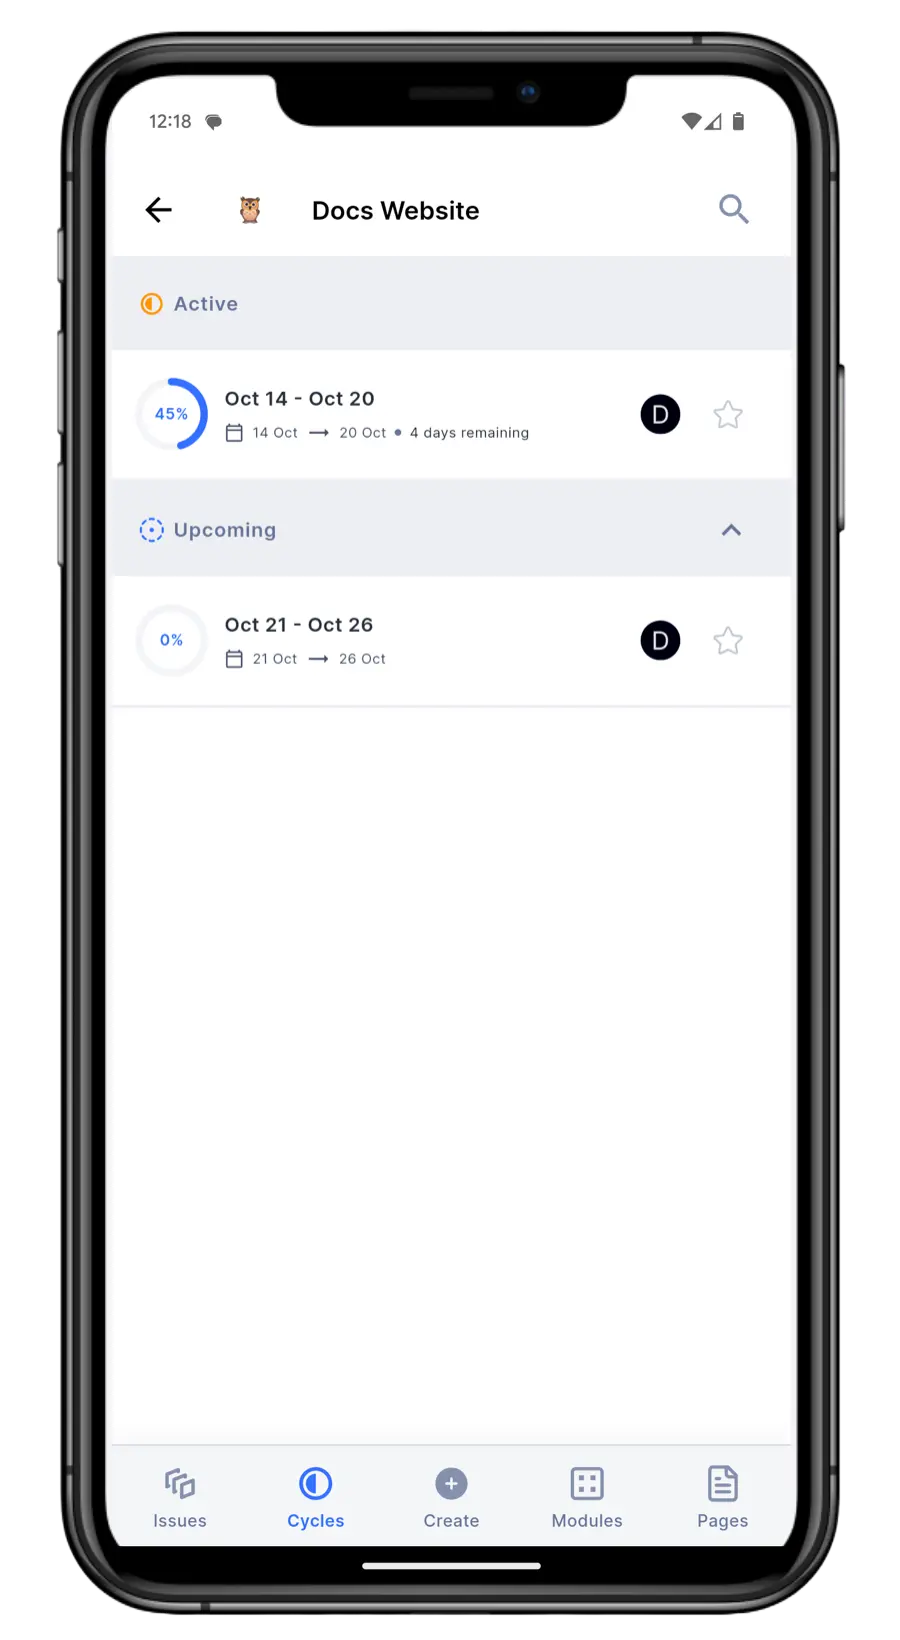
Push notifications
Push notifications are currently available only for Plane Cloud users.
The Plane mobile app supports push notifications to keep you updated on important activities. To start receiving notifications, make sure to turn them on in the app settings. Once turned on, you'll be notified about relevant updates, ensuring you never miss an important change or task.
Troubleshooting
Unable to log in to the mobile app
This error occurs when attempting to log in to the mobile app with a self-hosted URL on the Community Edition or an outdated version of the Commercial Edition.
-
Ensure your Plane instance is running the Commercial Edition version
v1.5.0or higher. If you are using an older version, update to the latest version. -
If you are on the Community Edition, upgrade to the Commercial Edition to access mobile app functionality.
-
Retry logging in and ensure the self-hosted URL is entered correctly in the app.
Sign-in issues on Android
If you're having trouble signing into the Plane app on your Android device, here are a few steps you can follow to get things working:
Sign-in button doesn’t open the app?
Make sure you have a browser (like Chrome, Firefox, or Edge) installed on your phone.
App still not opening, even with a browser installed?
- Check which profile the Plane app is installed under — Personal or Work.
- Make sure the browser is also installed in the same profile.
Browser opens, but sign-in keeps looping?
This might be due to default browser settings. Try the following:
- Open your device’s Settings.
- Go to Apps or Default Apps.
- Find and tap on the browser you're using.
- Look for an option like Clear defaults or Reset default app
- Clear the defaults, then try signing in again.
You’ll be prompted to choose a browser. Choose one that's in the same profile as the Plane app.
Still stuck?
Try clearing site data: 1. When the web sign-in page opens, tap the three-dot menu (usually in the top-right corner of the browser). 2. Go to Settings → Site settings → Clear data (wording may vary slightly by browser). 3. Try the sign-in process again.
Unable to log in using SSO
Ensure the correct Redirect URI is configured in your OAuth service:
- For Google Sign-In: Add the following URL to the Redirect URIs section in your Google Cloud Console:
https://<plane.example.com>/auth/mobile/google/callback/ - For GitHub Sign-In: Add the following URL to the Callback URL section in your GitHub OAuth app:
bash https://<plane.example.com>/auth/mobile/github/callback/Verify that the<plane.example.com>part of the URL matches your self-hosted instance's domain.
Link not opening iOS app
If clicking links doesn't open the Plane iOS app and instead redirects to your browser, this is usually related to how iOS handles Universal Links.
Why this happens
- Your default browser may not be Safari.
- You may have previously opened the web app (
https://app.plane.so) in your browser, causing iOS to associate the domain with the browser instead of the app.
How to fix it
- Open the link in Safari.
- A banner will appear at the top that says Open and stays for about a second.
- Tap Open before the banner disappears to launch the Plane app.
- Try clicking the link from any other app to verify that it now opens the Plane app directly.