Work Item Labels
Labels are keywords or tags that you can assign to work items in order to categorize and differentiate them within your project. They are ideal for tracking components or other unique identifiers that don’t fall under the standard work item properties.
Labels can be used to group work items by common attributes, such as type, feature, or any other custom classification. They make it easier to filter and find related work items across your project.
Manage labels
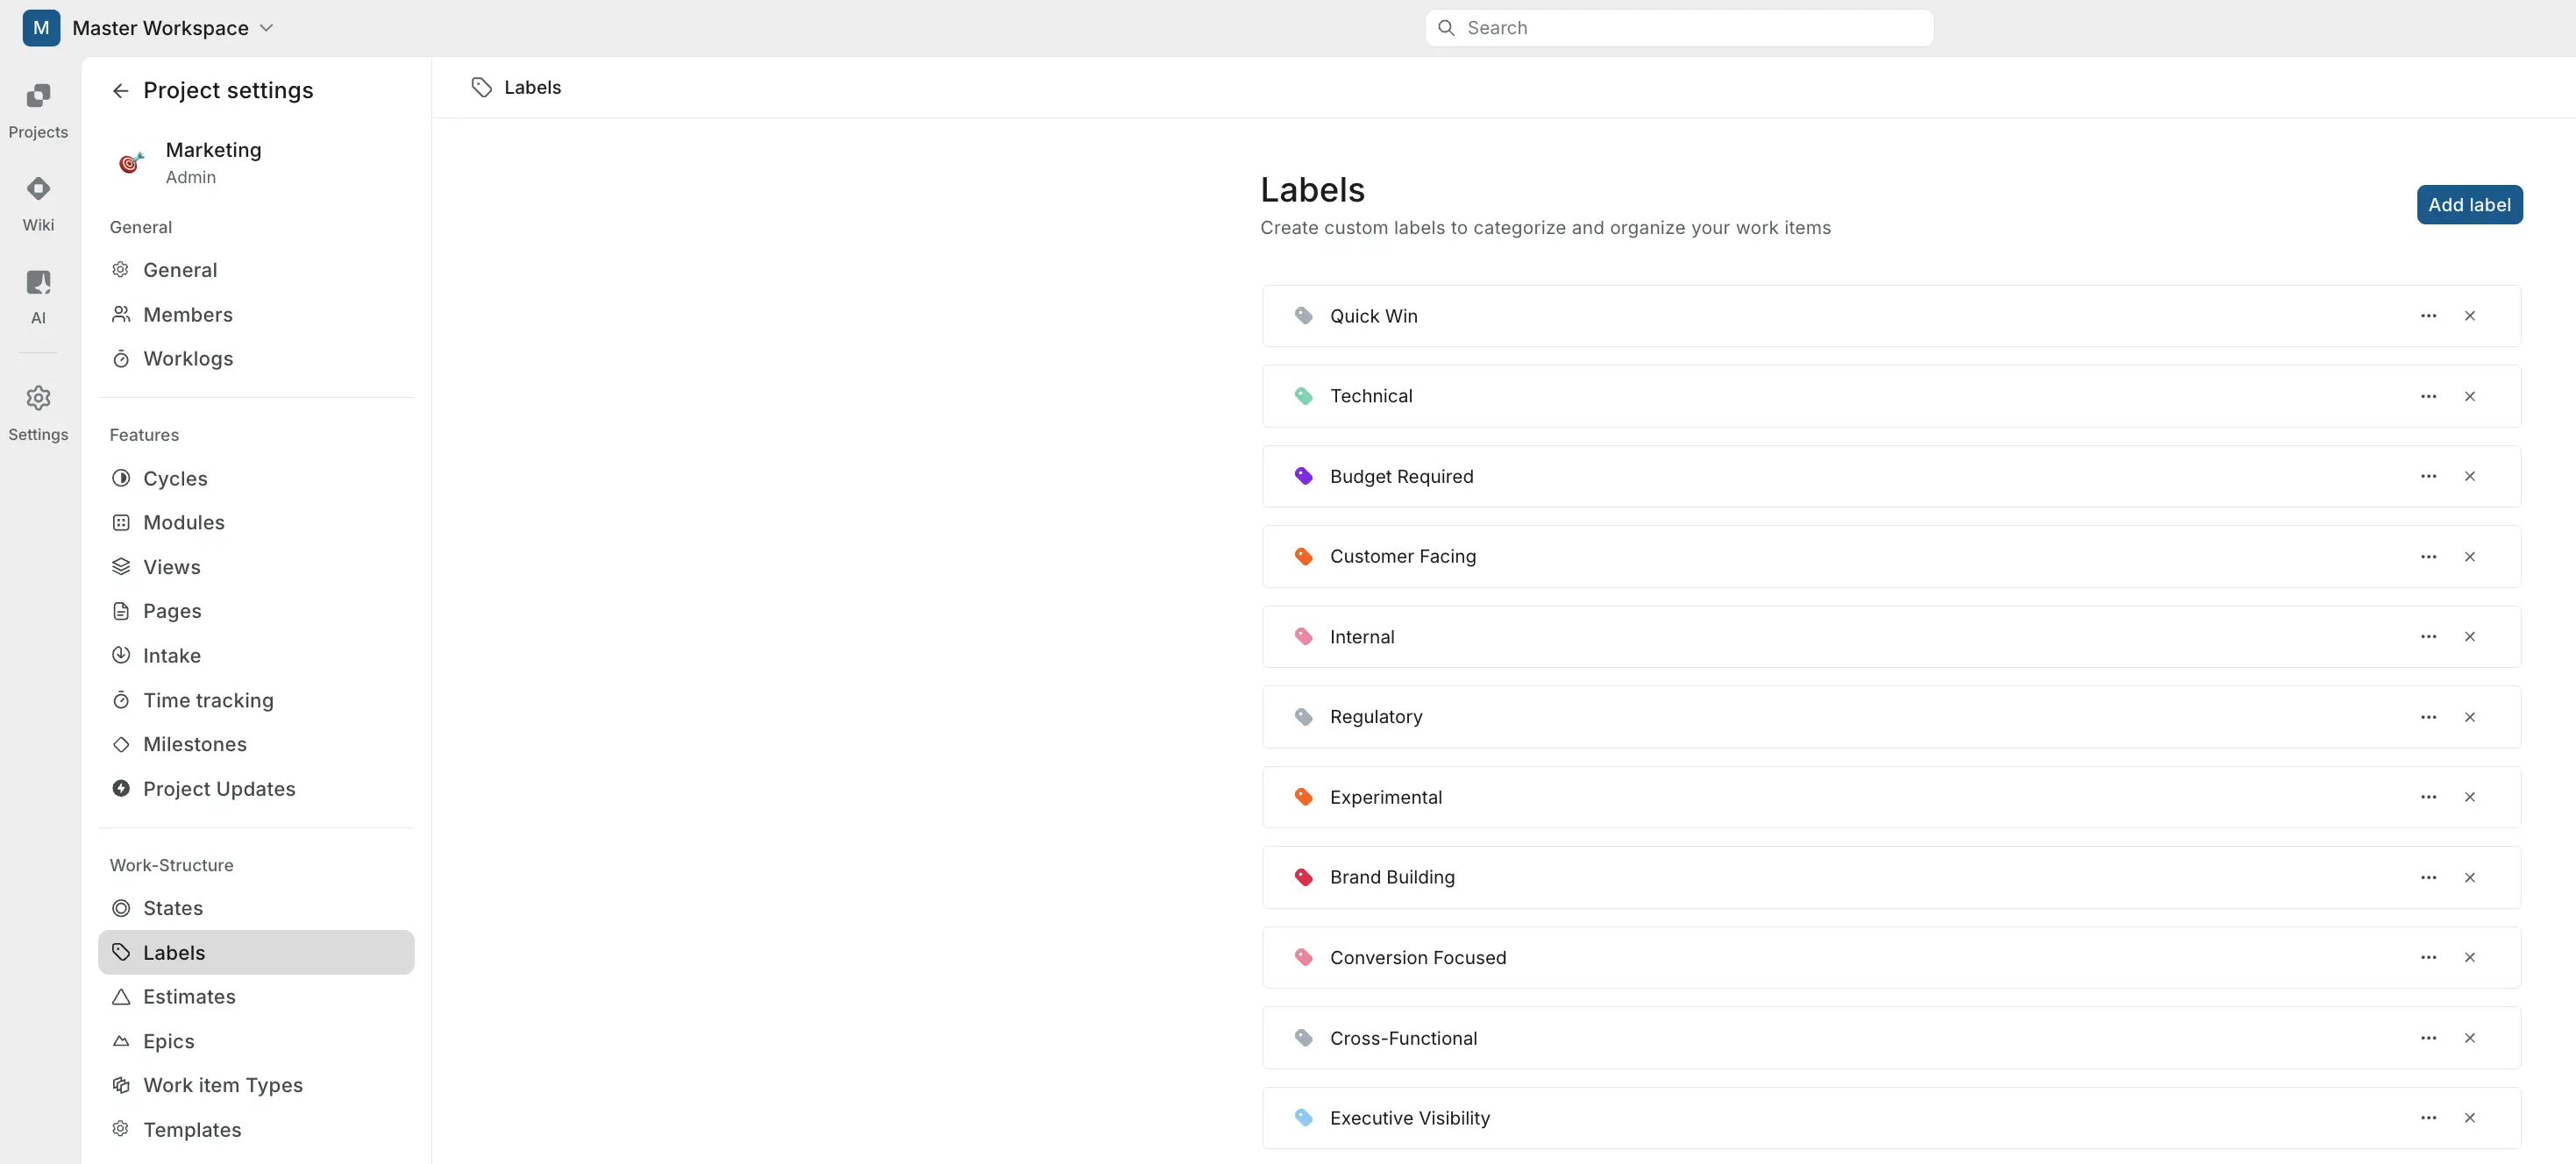
You can manage your labels in the Labels tab in your project settings. From here, you can create, edit, and delete labels.
Create labels
To create a new label:
- Click the Add label button.
- Name your label, choose a color (optional)
- Click Add to save your label.
You can also create labels directly from the work item detail page, making it super easy to tag work items as you go.

Edit labels
- Click the … icon on the label you want to edit and select Edit label.
- Update the label name or color as needed.
- Click Update to save your changes.
Delete labels
- Ensure no active work items are using the label.
- Click the x icon on the label to delete it.
WARNING
Removing a label from your project will dissociate it from any work items that had it assigned.