Invite members
Let's get your colleagues set up so you can start collaborating on projects together.
In this tutorial, you'll:
- Invite team members to your workspace with appropriate roles
- Understand workspace roles and permissions
- Manage team members after they join
- Handle pending invitations and role adjustments
Access Members page
There are two ways to invite team members to your workspace:
From the workspace switcher

- Click on your workspace name in the top-left corner.
- Next to your current workspace, click Invite members.
From workspace settings
- Click your workspace name, then Settings.
- In the left pane, click Members under Administration.
- Click the Add member button in the top-right.
Both options open the same invitation dialog.
Add team members
Configure who joins your workspace and what they can do.

In the Invite people to collaborate dialog: - Type email address in the provided field. - Use the + Add more link to invite multiple people at once.
TIP
💡 Start with core team members who will actively use Plane. You can always add more people later.
Choose member roles
For each person you're inviting, select their role from the dropdown.
👑 Admin
- Full workspace control and settings access.
- Can invite or remove members and manage billing.
- Best for Workspace owners, team leads, IT administrators.
👥 Member (Default)
- Can create projects, work items, and collaborate fully.
- Cannot change workspace settings or manage other members.
- Best for most team members, developers, designers, project contributors.
👁️ Guest
- Limited access to specific projects they're invited to.
- Cannot see other projects or workspace-level information.
- Best for external contractors, clients, temporary collaborators.
TIP
💡 Want a deeper breakdown? Check out the full guide on roles and permissions.
Send invitations
Once you've added email addresses and selected roles:
- Review your invitation list.
- Click Send invitations.
- Each person will receive an email invitation to join your workspace.
What happens next
For invitees:
- They receive an email with a join link.
- Can accept directly from email or from the workspace switcher.
- Join with the role you assigned them.
Manage your members
Learn to adjust roles and monitor team membership.
View member information
Access member management:
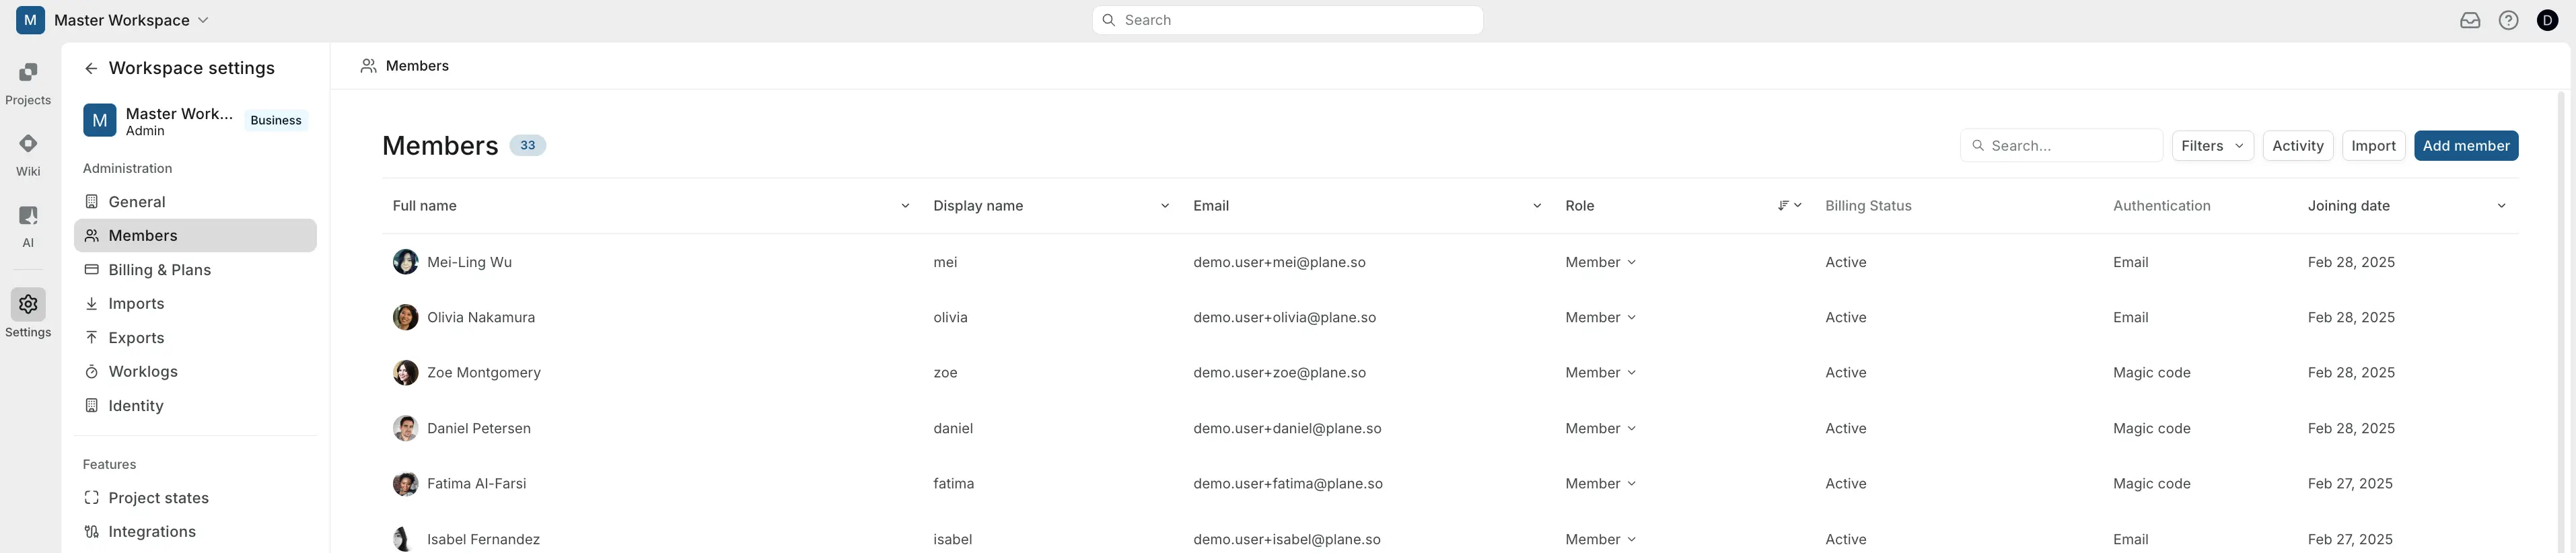
Go to Settings → Members to see complete member information:
Member details displayed:
- Full name and display name
- Email address and account type
- Current role (Admin/Member/Guest)
- Billing status (Active/Inactive)
- Authentication method (Email/SSO)
- Joining date
Adjust member roles
- Click the role dropdown next to any member's name.
- Change between Admin, Member, or Guest as needed.
- Changes take effect immediately.
Remove members from workspace

- Find the member in your Members list.
- Click the three dots (...) next to their name.
- Select Remove.
Removed members lose access to all workspace projects and data immediately. They can be re-invited later if needed.
What's next?
Your team now has access to collaborate effectively in Plane.
Ready to start collaborating?
- Create your first project to set up a space for your team's work